How a soil-cement brick is made, from soil to pallet
The process has four stages. None of them is complicated — and each has a specific way of going wrong that ruins the whole batch.
Worth knowing all four before buying the first machine.
1. Raw material
It starts with selecting and validating the material. The ideal soil is sandy, with a controlled fraction of clay and silt. The dosage with cement — around 8% to 10% of the mix — is what sets the final strength.
Before pressing anything, you run the ball test: squeeze a handful of the mix in your hand. It should form a firm ball that does not crumble and does not leave mud on your fingers. Dropped from chest height, the ball must break apart when it hits the ground.
Crumbled before that? Not enough water. Soggy and sticky? Too much.
The typical mistake here is assuming the site soil will do because “it is good earth”. Very clayey soil swells and shrinks; pure sand gives no cohesion. When the local soil will not do, you correct the mix — you do not hope for the best.
2. Mixing
The mass goes into the mixer, and this is where production time is won or lost.
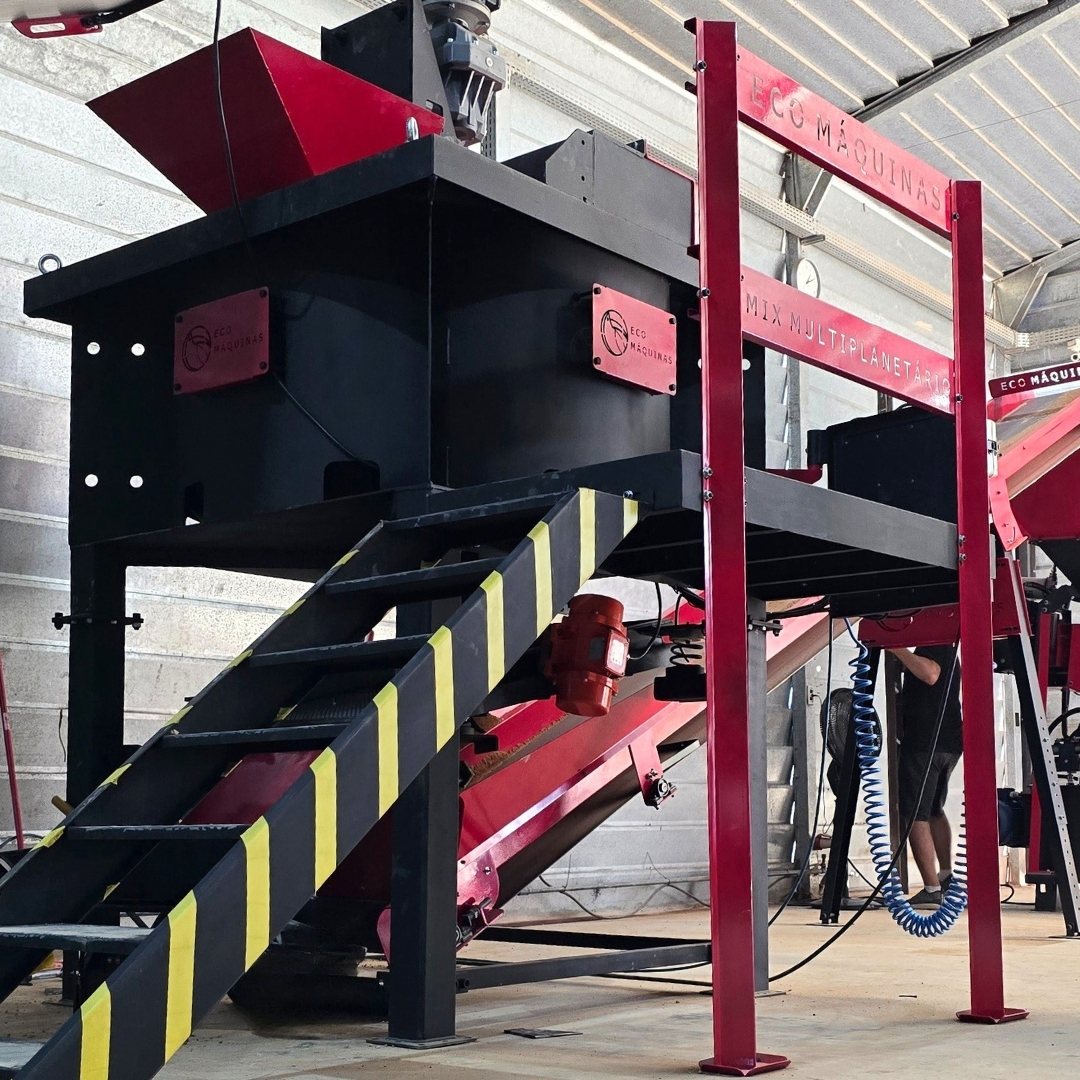
A planetary mixer or multiprocessor does four things in a single machine: it crushes the lumps, mixes soil and cement evenly, sieves the material and moistens the mass. Without it, someone will do those four things with a shovel — and will do them worse.
Homogeneity is not a nicety. One spot in the mass with more cement and another with less produces bricks of different strengths leaving the same press in the same minute.
The typical mistake is cutting mixing time to gain cycles. The production gain disappears with the first rejected batch.
3. Pressing
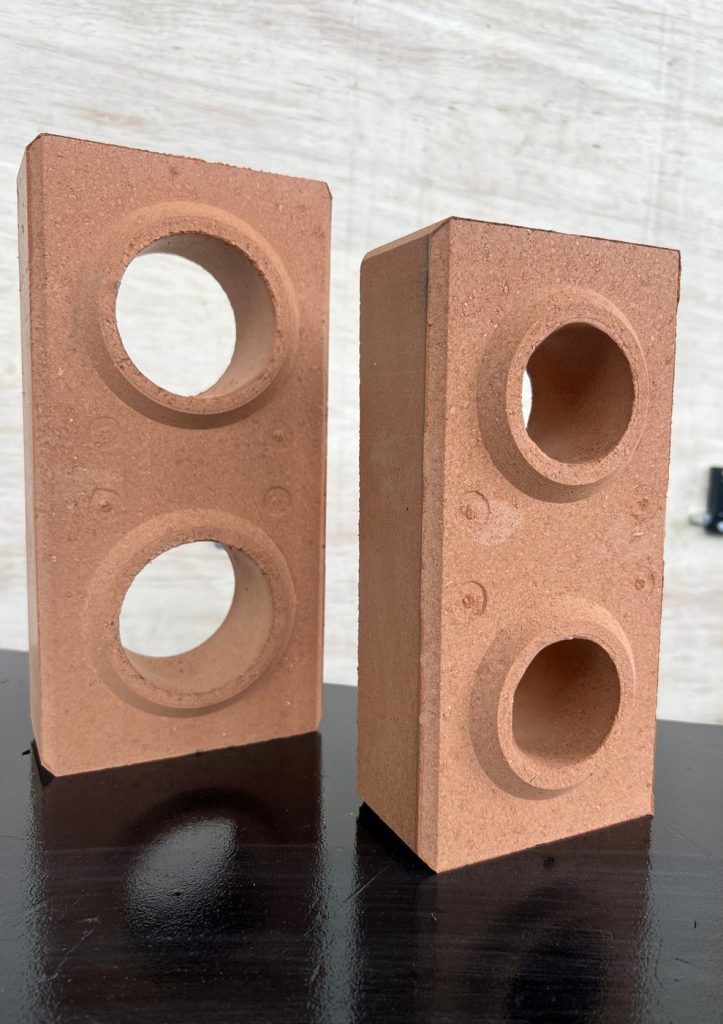
The press compacts the mass under high pressure, forming bricks, blocks, floors and tiles with a standardised interlock.
This is the stage that converts density into strength. A high-pressure hydraulic press delivers compaction that manual equipment cannot reach — which is why the same mix, in two different machines, gives two different results.
Real productivity is also decided here. A double-cycle press produces two bricks per stroke; an automatic one with conveyor pickup saves someone carrying pieces by hand all day.
The typical mistake is pressing with moisture off the mark. There is no later correction: the batch comes out compromised.
4. Curing
The most neglected stage, and the one that ruins the most production.
Curing starts right after pressing and continues for 3 to 7 days, depending on the cement, with the piece always moist. There are three routes:
- Manual curing — the stack is wrapped in plastic film, retaining the piece’s own moisture. Practical, economical, no daily watering needed.
- Spray curing — wetting several times a day, or with automatic sprinklers, keeping the surface always moist.
- Immersion curing — pieces stay immersed in a tank for about 30 minutes, or until air bubbles stop rising from the water. Recommended for high-responsibility pieces.
In all of them the bricks are covered with plastic film once stacked. ABNT considers curing complete at 28 days, but in practice most builders use the bricks right after moist curing.
The typical mistake is rushing. A half-cured brick looks ready and fails on site.
And the pallet
Bricks come out of the press and go straight to the pallet — already stacked the way they will stay until they reach the customer. A few simple rules avoid losses:
- a covered, dry place, sheltered from wind (draughts dry the piece out and cost moisture), protected from rain and direct sun
- on pallets or racks, never straight on the ground
- stacks of at most 5 crossed courses, for stability and to avoid cracks in the bottom pieces
- separation by batch and manufacturing date, to control curing age and stock rotation
The minimum set-up
To produce to a certified standard, the basic line is: a mixer, a press and a covered area for curing and storage. Screen, conveyor and crusher come in when volume grows or when the raw material demands it.
You can start smaller than most people imagine — as long as the four stages above are respected.
Next: see what it takes to set up a plant or browse the machine range.