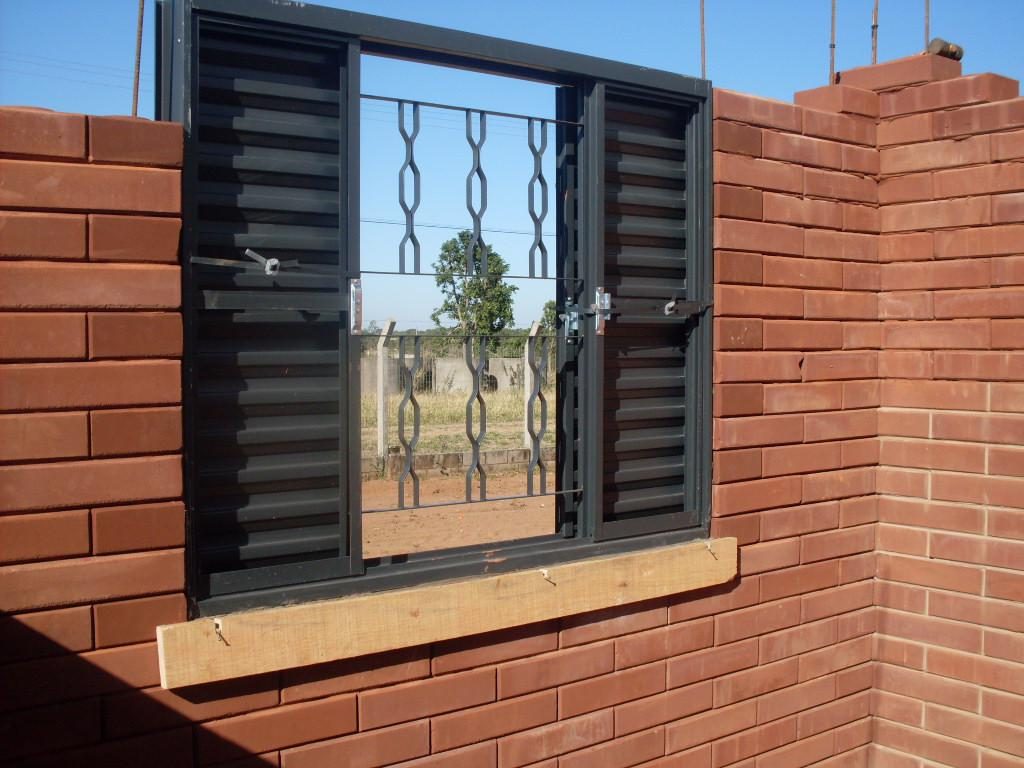
Ecological brick build
Complete guide

How to build with
ecological bricks

From foundation to finish: the real step by step of a soil-cement build — what changes, what it saves and where you cannot get it wrong.

2 to 3×
faster laying
up to 8×
less material in the render
0
site waste generated
2.0 MPa
minimum required by NBR 8491
The material

What an ecological brick is

It is a modular soil-cement block: a mix of soil, cement and water compacted under high pressure in a hydraulic press and cured without firing. In market practice, cement makes up around 8% to 10% of the mix, and the soil — sandy, with a controlled clay fraction — accounts for the rest.

What turned this into a building system, and not just an alternative brick, were two design details: the vertical holes, through which services and reinforcement run, and the tongue-and-groove interlock, which aligns the piece by itself and does away with the mortar joint.

It is a standardised material: NBR 8491 and 8492 cover the brick, NBR 10833 manufacturing with a hydraulic press, NBR 10834 and 10836 the hollow block. There is a standard, there is testing and there are acceptance criteria.
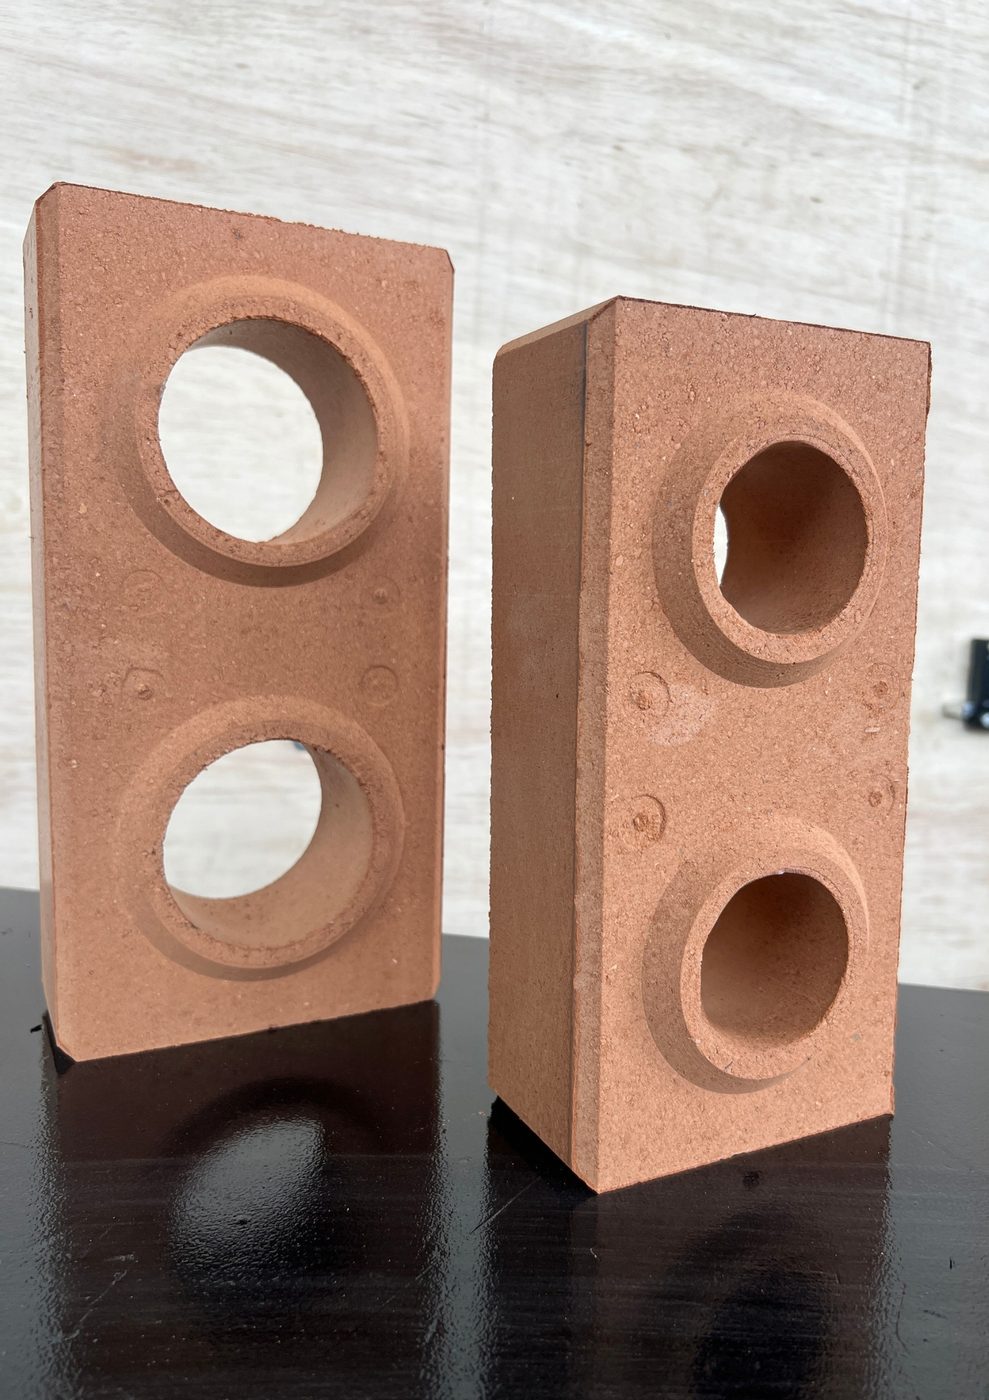
Soil-cement bricks with holes and interlock
Ball test to check the moisture of the mix
Before pressing

The ball test

Squeeze a handful of the mix in your hand. It should form a firm ball that does not crumble and does not leave mud on your fingers. Dropped from chest height, the ball must break apart when it hits the ground.

Crumbled before that? Not enough water. Soggy and sticky? Too much. The wrong moisture ruins the pressing — and no later correction fixes it.

Step by step

The 12 stages of the build

The sequence below is the same as a conventional build — what changes is how each stage is carried out.

Foundation
01

Foundation

Strip footing, raft slab or grade beam — the choice depends on the soil and the loads. What does not change: the foundation must come out perfectly level and be waterproofed before the first course. It is the stage that stops moisture from rising by capillarity into the wall.

First course
02

First course

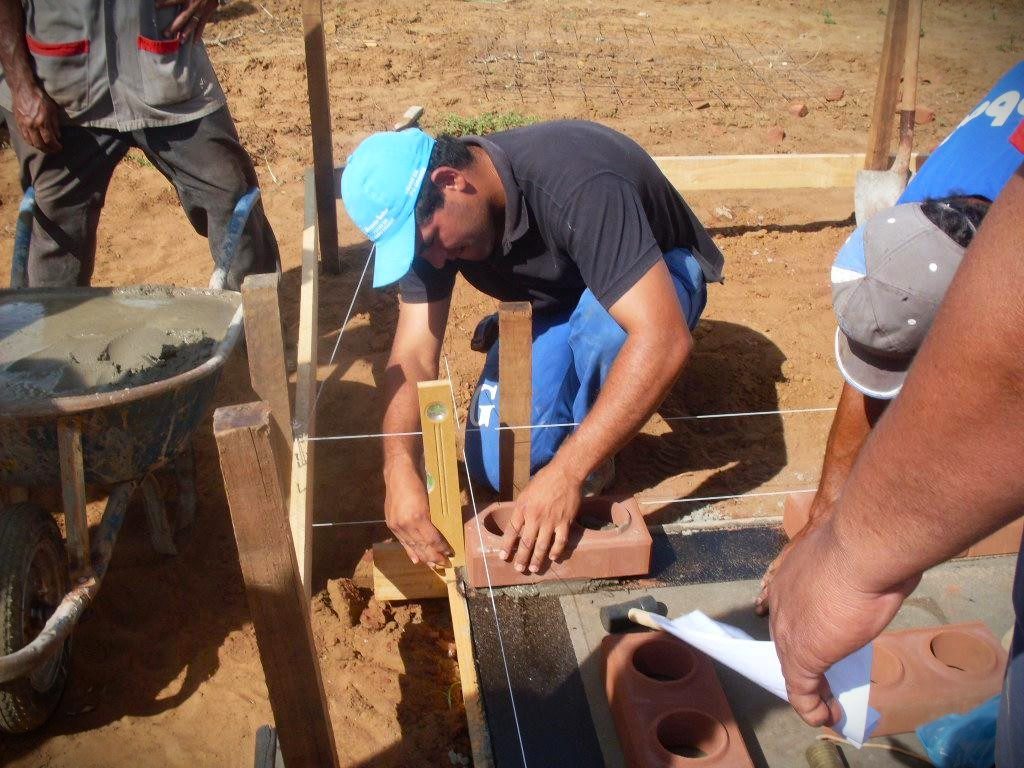
The only course laid with mortar. It is levelled millimetre by millimetre, because it sets the plumb and the square of the whole wall. A mistake here repeats in every course above.

Alignment
03

Alignment

A line pulled from corner to corner, the square checked at the angles and a level on every course. Because the brick is dimensionally precise, the wall rises aligned on its own — as long as the base is right.

Raising the walls
04

Raising the walls

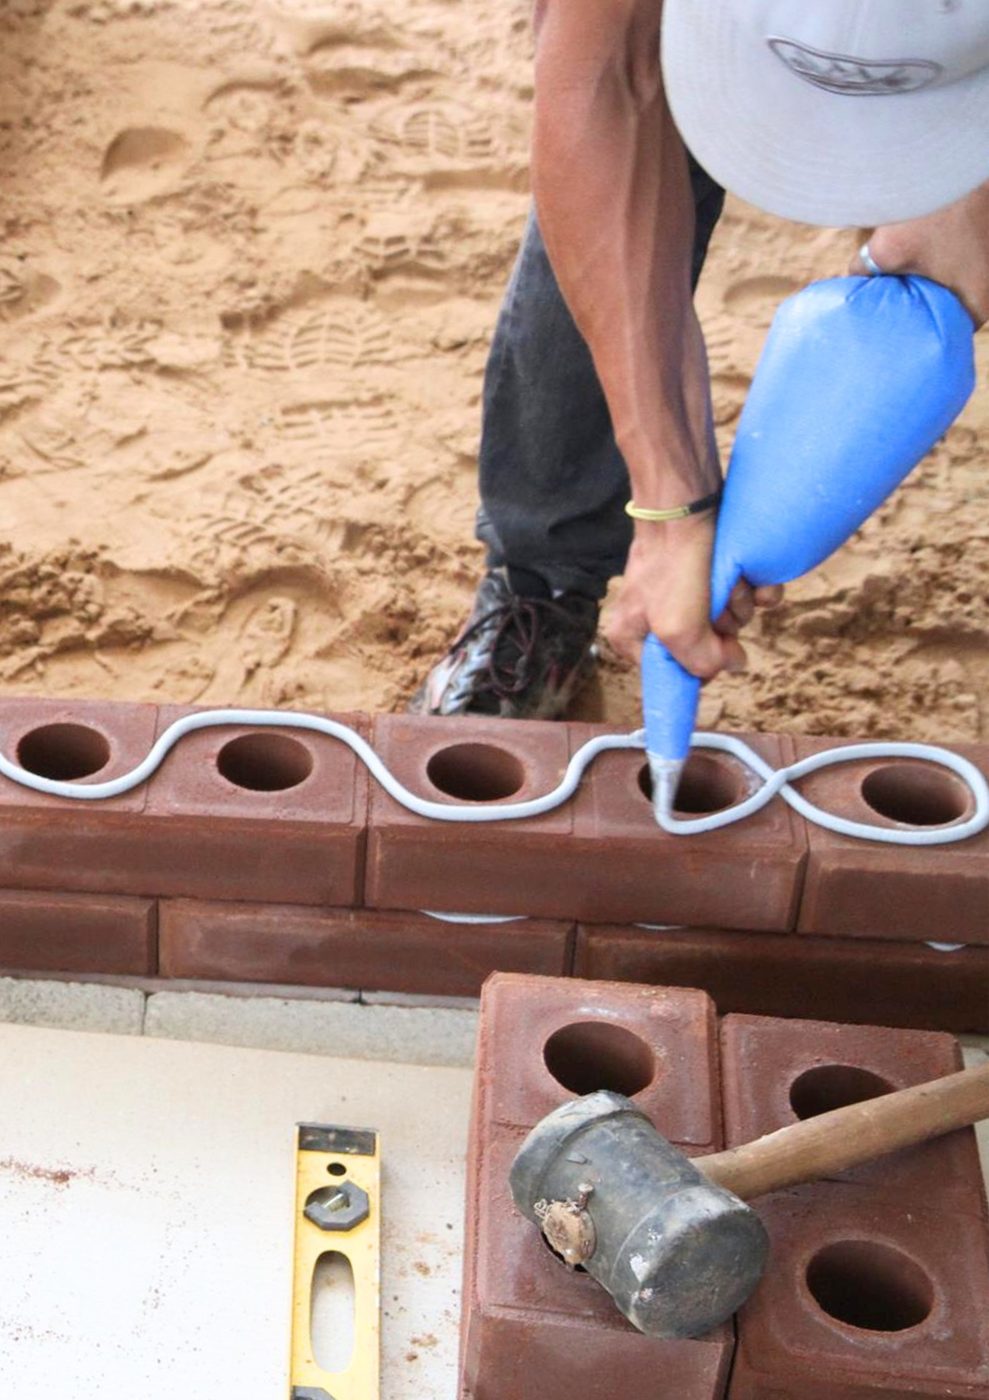
From the second course on, laying is done with polymer mortar adhesive applied in a thin bead. The tongue-and-groove interlock locks the piece and the bricklayer works two to three times faster than in conventional masonry.

Electrical services
05

Electrical services

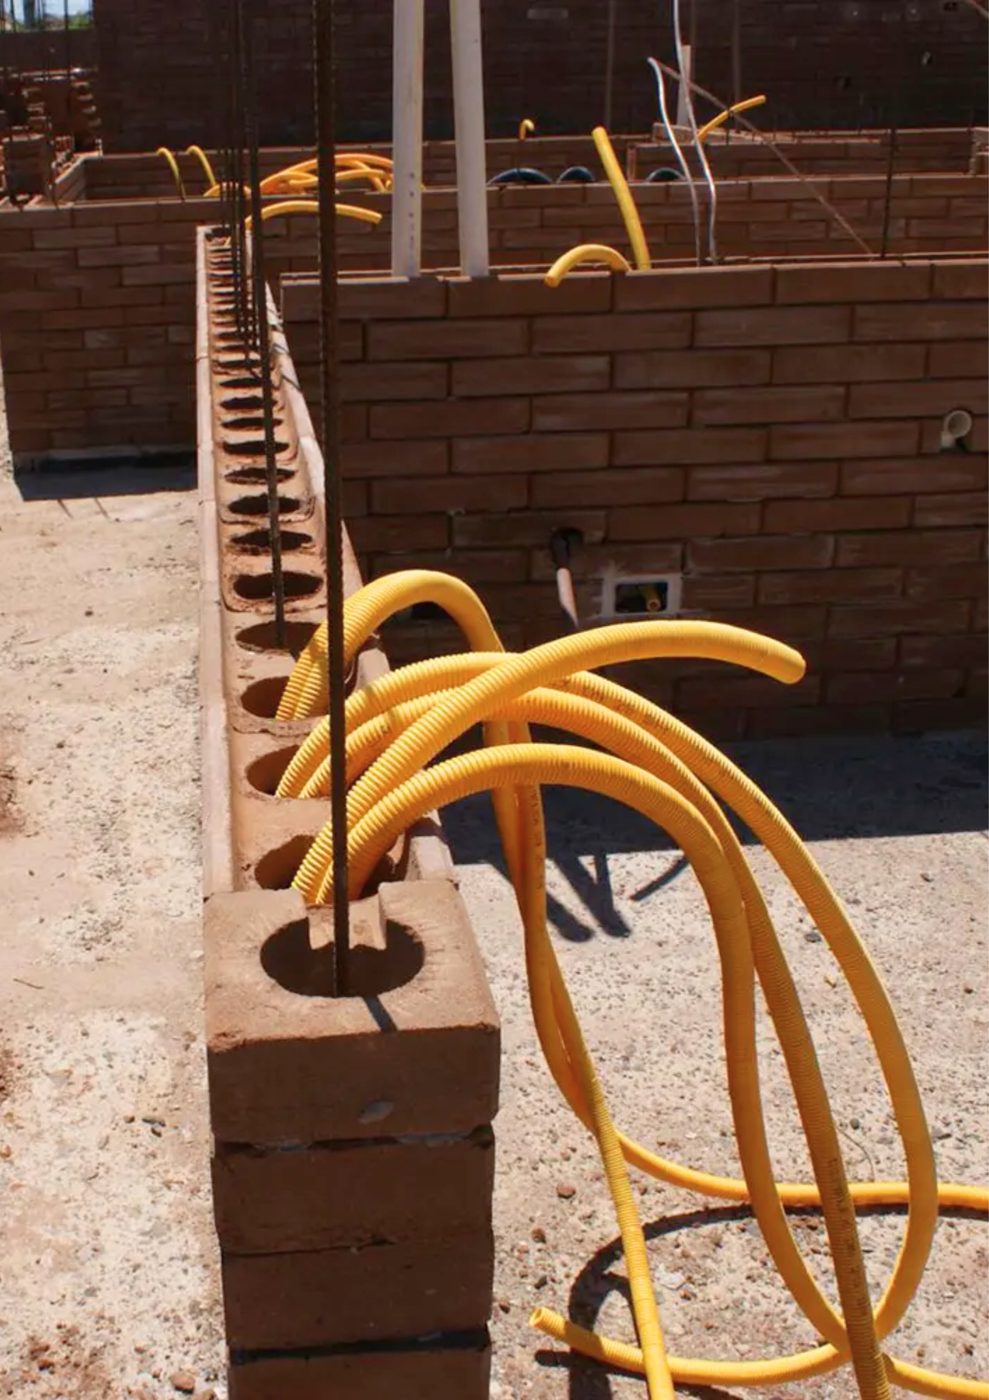
Conduits run down through the brick’s vertical holes, with no chasing and no breaking. Socket and switch boxes are positioned according to the modulation, planned in the design.

Plumbing
06

Plumbing

Small-diameter pipes run through the holes. Larger risers and horizontal branches need a specific solution — a shaft, a ceiling void or a partition wall — decided at design stage.

Structural columns
07

Structural columns

At the points set by the calculations, the aligned holes receive reinforcement and are filled with grout. Brick + steel + grout form a column built into the wall itself.

Doors and Windows
08

Doors and Windows

Above doors and windows the lintel spreads the load; below the sill, the counter-lintel prevents the diagonal cracks that appear at the corners of openings. Both are made with reinforced, grouted channel blocks.

Ring beam
09

Ring beam

At the top of the walls, the channel block runs the whole perimeter with continuous reinforcement and grout. It ties the structure together, spreads the roof loads and locks the whole assembly.

Channel blocks
10

Channel blocks

The channel block is what makes lintels, counter-lintels and the ring beam possible without timber formwork: it is the formwork itself, takes the steel and the grout, and comes out with the same finish as the wall.

Roofing
11

Roofing

A conventional roof, a slab or a steel structure — the ecological brick takes them all. The ring beam is the support for the roof structure.

Finishing
12

Finishing

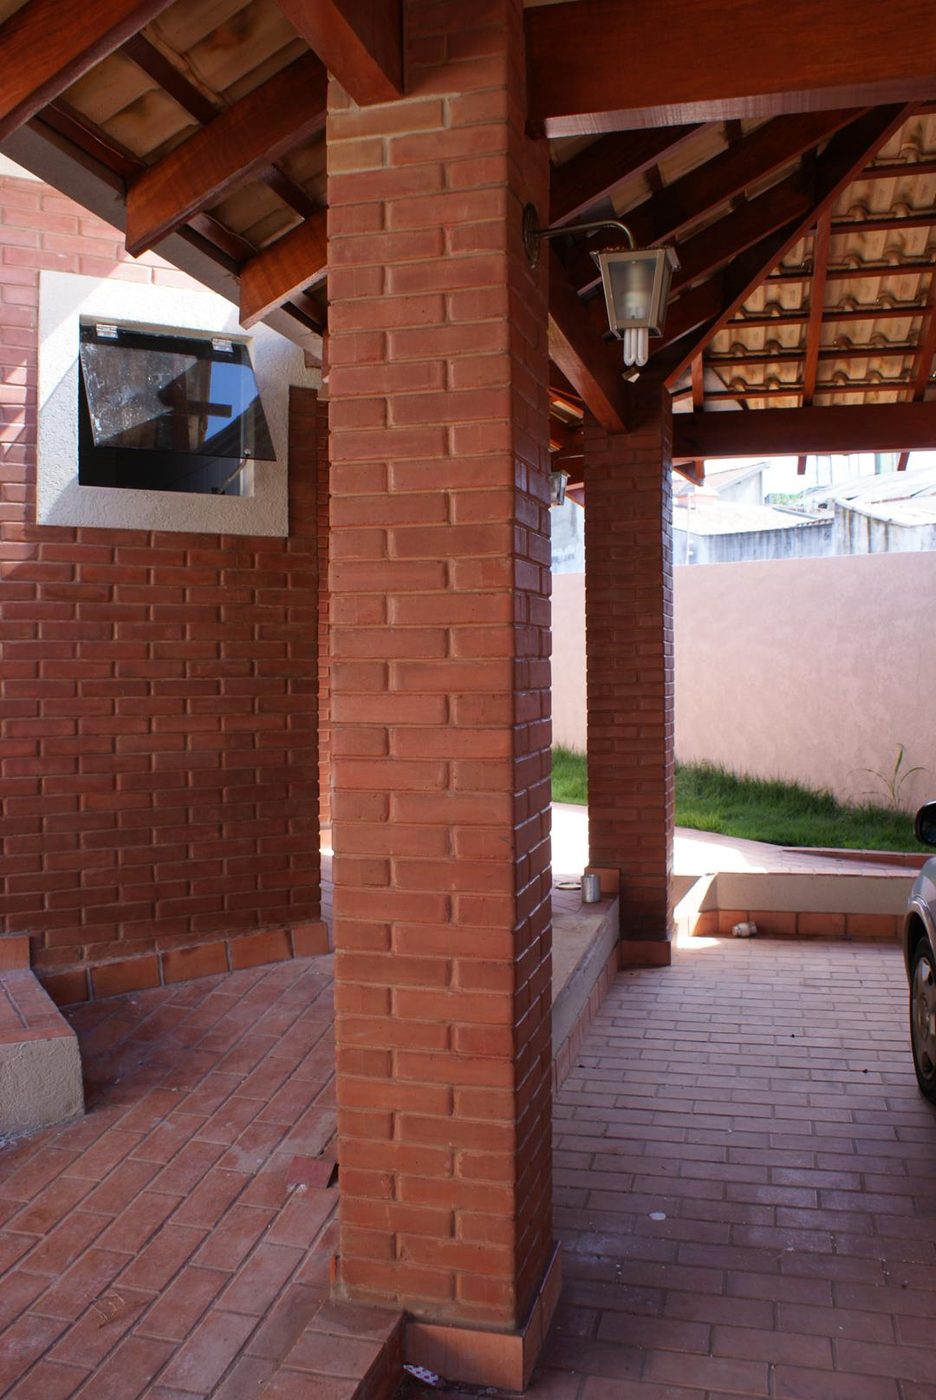
The wall already comes out aligned and with a texture of its own. You can leave it exposed with varnish or resin, paint it directly, apply skim coat, render it with far less material, or tile it normally.

The detail that decides the build

Laying: mortar, adhesive, level and plumb

Mortar only on the first course

It levels the base and corrects the foundation. It is the only course where mortar has a job — on the others it would be waste and would spoil the precision of the interlock.

Adhesive from the second course on

A thin bead of polymer mortar or tile adhesive on the brick’s ribs. It goes a long way, makes little mess and lets you adjust the piece before it sets.

Level and plumb on every course

The interlock aligns horizontally, but the plumb is the bricklayer’s responsibility. Straightedge and plumb on every course, no exceptions.

Bonding at the corners

Corners alternate the piece on every course, as in ordinary masonry. That is what locks the assembly together.

Checking the plumb Soil-cement floor
Finishes

What you can do with the wall

Finish
How it is done
Advantage
Watch out for
Exposed brick
Varnish or water-repellent resin
Lowest cost, brings out the brick’s texture
Reapply every 3 to 5 years on external faces
Direct painting
Sealer + acrylic paint
Fast, no render needed
Requires a well-laid wall
Skim coat
Skim coat + paint
Smooth surface, conventional look
Indoor areas only
Render
Mortar in a thin layer
Allows any later finish
Uses up to 8× less material than ordinary masonry
Ceramic and stone
Tile adhesive
Wet areas and façades
Direct bonding, no spatterdash
Frequently asked questions

What everyone asks before starting

Is the ecological brick strong?

NBR 8491 requires a minimum average strength of 2.0 MPa at 7 days. With selected soil, the right mix, a high-pressure hydraulic press and proper curing, it is common to go well beyond that floor. Whoever controls the process controls the strength.

Can you build two storeys?

Yes. Two-storey builds are done routinely, with grouted columns and a ring beam sized by structural design.

Do I need to render it?

No. Render is optional. The wall comes out aligned enough to take just paint or varnish — and that is where much of the saving comes from.

Is there a technical standard?

Yes: NBR 8491, 8492, 10833, 10834 and 10836. This is not an informal material — there is a standard, testing and acceptance criteria.

Does it take on moisture?

The brick absorbs water like any ceramic material. That is why waterproofing the foundation and using a water repellent on external faces are not optional.

Will any soil do?

No. The ideal soil is sandy, with a controlled fraction of clay and silt. Very clayey soil swells and shrinks; pure sand gives no cohesion. When the local soil will not do, the mix is corrected.

How long does the brick cure before use?

It can be used on site from 7 days, with strength continuing to grow over the following weeks. Moist curing in the first days is what guarantees the result.

Do I need specialised labour?

You do not need a specialised crew, but you do need a trained one. The method is simpler than conventional masonry — what changes is the first few days, until the bricklayer picks up the rhythm of the interlock.

Can it take cabinets, a TV and air conditioning on the wall?

It can. Suspended loads are fixed with suitable anchors; at higher-load points the hole can be grouted.

Can I set up a manufacturing business?

Yes — it is the path many of our clients take. Producing your own brick changes the economics of the build entirely, and leaves spare capacity to sell in your region.

Want to produce your own brick?

That is where the economics of the build change level — and where many people discover a business. Our technical team assesses your space, your investment and your raw material.

See the machines Get started